Enhance Your Home’s Beauty With Timber Floor Polishing
Overview
Hello, readers! Welcome to our blog post on how to enhance your home’s beauty with timber floor polishing Melbourne. We understand that a beautiful home is something we all aspire to have. It’s not just about the furniture and decor, but also the flooring that can make a significant difference.In this blog post, we will explore the world of timber floor polishing and how it can elevate the aesthetics of your home. So, let’s dive in and discover the wonders of timber floor polishing!
Understanding Timber Floor Polishing
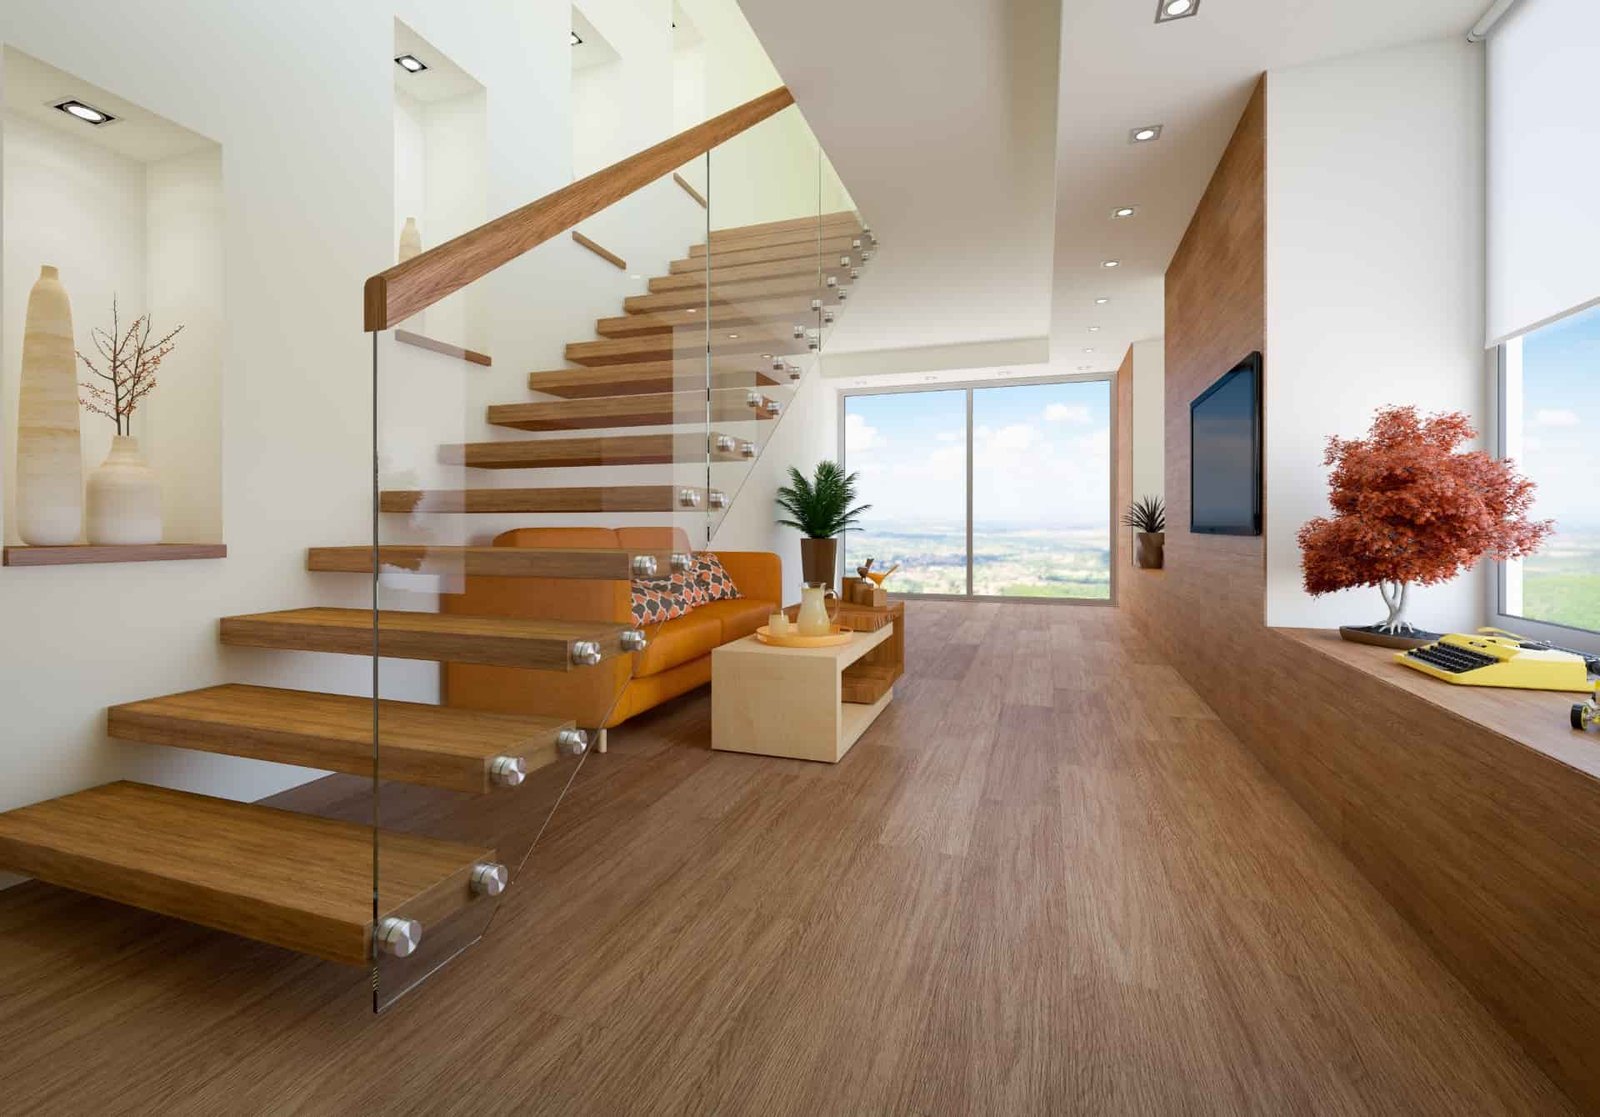
Timber floor polishing is a process of restoring and refinishing wooden floors to enhance their appearance and durability. Unlike other flooring options, timber floors bring a unique charm and warmth to any space. They add a touch of elegance and sophistication that is hard to replicate with any other material. Timber floors can make a room feel more spacious, create a cozy ambiance, and even improve indoor air quality.
Imagine walking into a room with beautifully polished timber floors, basking in the natural glow and feeling a sense of tranquility. Timber floor polishing service is the secret to achieving that level of beauty and serenity in your home.
Preparing for Timber Floor Polishing
Before diving into the timber floor polishing process, it’s essential to prepare your home accordingly. Here are a few tips to help you get started:
Clear the area: Remove all furniture and belongings from the room to ensure a smooth and uninterrupted polishing process. This will also protect your items from any potential damage.Protect delicate items: If there are delicate or valuable items that cannot be moved, cover them with plastic sheets or drop cloths to prevent any polish or dust from settling on them.
Seek professional help or DIY: Depending on your preferences and skill level, you can choose to hire professional floor polishers or take the DIY route. Professionals have the expertise and equipment to deliver exceptional results, while DIY options can be cost-effective for those who enjoy a hands-on approach.
Safety precautions: Whether you go with professionals or choose to do it yourself, make sure to take necessary safety precautions. Wear protective gear like goggles, gloves, and a mask to protect yourself from dust and polish fumes.
Step-by-step Guide to Timber Floor Polishing
Now that you have prepared your home for the polishing process let’s dive into the step-by-step guide to timber floor polishing:
Inspecting and cleaning the floor:
Before starting the polishing process, it’s essential to inspect the floor for any damages or imperfections. Look for scratches, cracks, or uneven surfaces that may require additional attention. Once the inspection is complete, thoroughly clean the floor to remove dirt, dust, and stains. Use a broom or vacuum cleaner to remove loose debris, followed by a damp mop or suitable cleaning solution for a deeper clean.

Sanding and smoothing:
Sanding is a crucial step in timber floor polishing as it helps create a smooth surface for the polish to adhere to. Start by using a coarse grit sandpaper to remove any existing finish or imperfections. Gradually progress to finer grits to achieve a smoother surface. It’s important to sand in the direction of the grain to avoid any damage or visible sanding marks.
Choosing the right polish:
Choosing the right polish for your timber floors is vital as it determines the final look and durability of the finish. There are various types of polish available in the market, including water-based, oil-based, and polyurethane-based options. Each type has its own advantages and considerations. Water-based polishes are eco-friendly, quick-drying, and low in VOCs, while oil-based polishes offer a more traditional finish. Polyurethane-based polishes provide excellent durability and resistance to wear and tear.Consider factors such as gloss level, drying time, and maintenance requirements when selecting the polish that suits your specific needs.
Applying polish:
Once you have chosen the right polish, it’s time to apply it to your timber floors. Follow these step-by-step instructions for a seamless application process:
Prepare the area: Ensure the room is well-ventilated and at a suitable temperature for the polish to dry effectively. Open windows or use fans if necessary.Apply a thin coat: Use a clean cloth, roller, or brush to apply a thin and even coat of polish. Start from the farthest corner and work your way towards the exit to avoid trapping yourself in the room.
Allow drying time: Follow the manufacturer’s instructions regarding drying time between coats. It’s essential to allow each coat to dry completely before applying the next layer.Sand between coats: Lightly sand the floor between coats to achieve a smooth finish. Use a fine grit sandpaper and be gentle to avoid damaging the previous coat.Apply multiple coats: Depending on the desired finish, apply multiple coats of polish. Each additional coat adds depth and enhances the durability of the finish.
Final polish and maintenance: Once the desired number of coats has been applied, give the floor a final polish to achieve the desired shine or matte finish. Follow the manufacturer’s instructions for maintenance and curing time.
Aftercare Tips for Maintaining Beautiful Timber Floors
Congratulations! You have successfully polished your timber floors and transformed your home into a haven of beauty and elegance. To ensure your floors stay beautiful for years to come, here are a few aftercare tips:
Regular cleaning: Clean your timber floors regularly using a soft broom, microfiber mop, or a vacuum cleaner with a hardwood floor attachment. Avoid using harsh chemicals or excessive water that can damage the finish.
Preventive measures: Place doormats at entryways to prevent dirt and grit from scratching the floors. Use felt pads or furniture glides under heavy furniture to prevent scratches and scuffs.
Waxing: Depending on the type of polish used, you may need to wax the floors periodically to maintain their shine and protect the finish. Follow the manufacturer’s instructions for waxing products and techniques.
Addressing scratches or fading: Over time, timber floors may develop scratches or fade due to regular use. Use touch-up markers or pens specifically designed for timber floors to conceal minor scratches. For major scratches or fading, consult a professional for refinishing options.
Conclusion:
Timber floor polishing Melbourne is an excellent way to enhance the beauty of your home. From the initial preparation to the final polish, the process may require time and effort, but the results are incredibly rewarding. Timber floors bring a unique charm and warmth to any space, creating a beautiful and inviting atmosphere.
Related Posts

The Four C’s of Diamond Engagement Rings: A Buyer’s Primer

Elevate Your Big Day Experience with Specialist Wedding Reception Venues